

Surface finishes in prototyping are crucial for both performance and appearance. They influence friction, durability, and even regulatory compliance, especially in industries like automotive, medical devices, and electronics. Each finish suits different needs, materials, and budgets. Here's a quick rundown of the top 7 finishes:
Each finish affects cost, time, and material compatibility. For example, as-machined parts are quick and economical, while anodising or powder coating adds durability and aesthetic appeal. Choosing the right finish depends on your prototype's purpose, material, and industry standards.
| Finish | Key Features | Best For | Materials |
|---|---|---|---|
| As-Machined | Visible tool marks, precise dimensions | Functional testing, internal parts | Metals, plastics |
| Sanding | Smooths rough surfaces | Preparing for coatings, aesthetics | Metals, 3D-printed plastics |
| Polishing | High-gloss, reflective surface | Aesthetics, optical components | Aluminium, stainless steel |
| Bead Blasting | Matte, textured finish | Uniformity, coating preparation | Metals, plastics |
| Painting | Colour and protection | Branding, functional coatings | Most materials |
| Anodising | Corrosion-resistant oxide layer | Aluminium parts, outdoor use | Aluminium, alloys |
| Powder Coating | Durable, eco-friendly | Heavy-duty, vibrant finishes | Metals, some plastics |
Selecting the right finish ensures your prototype meets both functional and visual requirements, reducing post-processing costs and improving market readiness.

In rapid prototyping, surface finish refers to the texture, appearance, and feel of a model as determined by the manufacturing process.
Each production method - whether CNC machining, 3D printing, or injection moulding - leaves its own unique mark on the surface. For instance, a CNC-machined aluminium part might show visible tool paths, while 3D-printed components often have layer lines that reflect the printing process.
Surface finishes serve several purposes. Improving appearance is a key goal, as a polished prototype not only looks more professional but also provides a clear vision of the final product. Beyond aesthetics, functionality plays a major role. A smooth surface can reduce friction in moving parts, while textured finishes may enhance grip or thermal performance. In medical device prototypes, especially relevant in Australia's expanding medtech industry, surface finishes can impact biocompatibility and cleaning protocols. Similarly, automotive parts often require finishes tailored to handle environmental conditions, whether it's Queensland's coastal humidity or the dust-heavy Outback. These considerations influence design and manufacturing decisions.
Surface finishing can also modify a prototype's material properties. For example, anodising aluminium not only adds colour but creates a durable, corrosion-resistant layer, making it ideal for outdoor use. Powder coating, on the other hand, enhances both appearance and protection against UV damage - a crucial factor under Australia's intense sunlight.
When prototypes are used to validate manufacturing processes, matching the final product's surface texture is essential. For example, if a production part will be injection moulded with a specific texture, the prototype should replicate that finish to accurately test usability and assembly. This approach can uncover potential issues before investing in costly tooling.
Australian prototyping services, such as those offered by Mastars, frequently work with materials like aluminium alloys (6061-T6 and 7075), engineering plastics (ABS, PC, PEEK), and stainless steel grades like 316L for medical applications. Each material responds differently to surface treatments, so the choice of finish depends on the prototype's purpose and the industry standards it must meet.
Post-processing requirements also impact project timelines and budgets. Simple finishes like bead blasting add minimal time, while more complex treatments - such as applying primer, base coats, and clear coats - can significantly extend lead times. The level of detail in the finish directly affects both costs and production schedules.
For Australian OEMs, it’s worth noting that early prototypes often require only basic finishes. Functional prototypes can perform well with machined surfaces, offering a cost-effective and time-efficient solution. However, prototypes intended for market validation or investor presentations typically benefit from advanced surface treatments that closely resemble the final product’s look and functionality.
Choosing the right surface finish is all about finding the right balance between how your prototype performs, how quickly it needs to be ready, and how much it will cost. Here's a breakdown to help you match the finish to your material, purpose, and industry needs.
The material of your prototype plays a huge role in determining the most suitable finish. For example:
The prototype's purpose is another big factor. If you're making a functional prototype for internal testing, an as-machined finish might be all you need. But if you're creating a prototype to impress clients or validate a product in the market, finishes like polishing or painting can give it that polished, professional edge.
For prototypes where functionality is critical, the finish needs to do more than look good. Take medical device prototypes, for instance - they often require biocompatible finishes that meet Therapeutic Goods Administration (TGA) standards. Processes like electropolishing or specialised coatings are ideal for these cases. Automotive components, especially in Australia’s tough climate, benefit from corrosion-resistant treatments to handle wear and tear.
Deadlines can influence your finish choice too. Some finishes are quick to apply, while others take longer due to multi-step processes. If you’re working against the clock - say, for a trade show or investor pitch - you’ll need to factor in the processing time for each finish.
Costs can vary widely depending on the finishing method. Basic finishes are more economical, while advanced, multi-step techniques can significantly increase the price per part. For example, powder coating strikes a good balance between durability and aesthetic appeal without breaking the bank. Mastars offers tailored solutions to meet these needs efficiently.
Different industries have unique requirements for surface finishes. The Australian automotive industry demands strict surface roughness specifications, while medical prototypes must meet rigorous biocompatibility standards. Aerospace components, on the other hand, often need finishes that comply with quality management standards like AS9100.
Testing and validation are also key. If your prototype will undergo performance tests - such as salt spray testing for corrosion resistance or wear testing for durability - the finish must be compatible with these evaluations. Even finishes that look similar can behave very differently under stress.
The finish you choose should align with the prototype's primary goal. Early-stage prototypes can stick to cost-effective, fast-turnaround finishes. But for later-stage prototypes - especially those designed to mirror the final product - you may want to invest in premium finishes that deliver both the look and performance you need.
When it comes to balancing speed and cost efficiency, the as-machined finish is a standout option, especially for projects where functionality takes precedence over appearance.
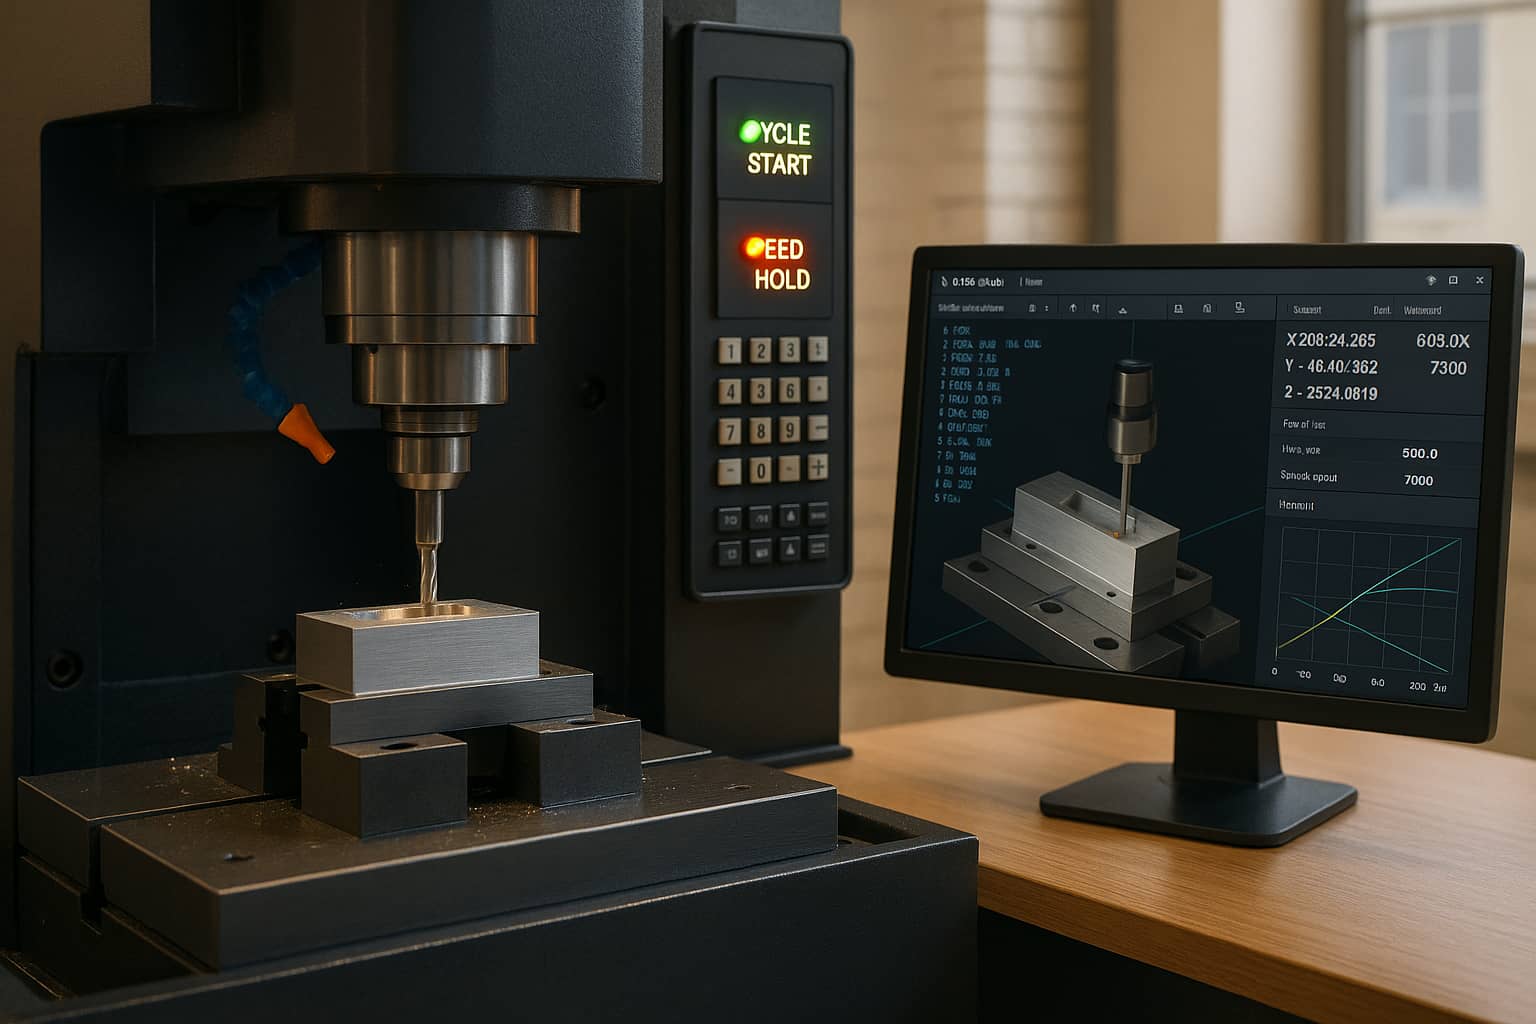
The as-machined finish refers to the surface condition of a part straight from the machining process, without any post-treatment. During operations like CNC milling, turning, or drilling, the cutting tools leave behind distinct tool marks and surface textures that define this finish.
The surface roughness typically ranges between Ra 1.6 and Ra 6.3 micrometres, depending on factors like machining parameters, the condition of the cutting tools, and the material being worked on. This finish retains the natural characteristics of the base material - whether it’s aluminium, steel, brass, or engineering plastics - without altering its properties.
As-machined finishes are ideal for functional testing prototypes, where performance takes priority over aesthetics. They are commonly used for internal components that won’t be visible in the final product, especially in mechanical assemblies where precise dimensions are critical.
This finish is also a go-to for early-stage design validation. When testing fit, form, and basic functionality, there’s little reason to invest in additional surface treatments. The natural finish provides an unaltered view of the machined geometry, helping to identify any potential issues.
Prototypes intended for stress testing, vibration analysis, or thermal cycling often benefit from this finish. Since there’s no coating or treatment, the surface accurately reflects the material’s true properties, making it easier to assess performance under extreme conditions.
One of the biggest advantages of an as-machined finish is its speed to market. Parts are ready immediately after machining, saving valuable time compared to processes that require secondary finishing. This is particularly helpful when deadlines are tight, such as for investor presentations or trade shows.
It’s also a cost-efficient option. Skipping additional finishing steps reduces expenses, which is especially beneficial when multiple iterations of a prototype are needed.
Another key benefit is dimensional precision. With no material added or removed after machining, the final product matches the exact dimensions programmed into the CNC machine. This level of accuracy is crucial for prototypes that need to fit with existing components or assemblies.
Moreover, the finish is compatible with virtually any machinable material. Whether you’re working with aluminium alloys, engineering plastics, or even high-performance superalloys used in aerospace applications, the as-machined finish is a versatile choice.
The automotive industry frequently uses as-machined finishes for prototypes of internal engine components, transmission systems, and structural parts. These finishes provide sufficient corrosion resistance for short-term testing while maintaining the precise tolerances required for functionality.
In medical device development, as-machined finishes are often used for prototypes of surgical instruments and implant components. Here, the focus is on biocompatibility testing rather than appearance, and the natural surface helps in evaluating the material’s properties accurately.
The aerospace and defence sectors also rely heavily on this finish for prototype components undergoing rigorous testing. Since the finish doesn’t interfere with non-destructive testing methods like dye penetrant or magnetic particle inspection, it’s a practical choice for these industries.
For industrial machinery, particularly in fields like mining and construction - industries with a strong presence in Australia - prototypes often feature as-machined finishes. Internal components benefit from the durability and precision this finish offers, even if visual appeal isn’t a priority.
This combination of speed, precision, and cost-effectiveness makes the as-machined finish a preferred option across a wide range of applications.
Sanding smooths surfaces by eliminating tool marks, resulting in a refined and polished appearance. This mechanical process gradually removes material to create a smoother finish.
Sanding uses abrasives to remove imperfections left by machining. The process usually begins with coarser grits (around 120–220) to tackle larger scratches or marks, then progresses to finer grits (400–1200 or higher) to achieve a more polished surface.
This step-by-step approach reduces surface roughness from Ra 1.6–6.3 µm to Ra 0.4–1.6 µm, depending on the abrasives used. For detailed or irregular shapes, hand sanding provides excellent control, while machine sanding ensures consistency on flat surfaces.
Sanding works effectively on materials like aluminium, steel, plastics, and composites, making it versatile for prototyping. However, softer materials, such as some plastics, require extra care to avoid overheating, which can lead to melting or deformation. By carefully managing material removal, sanding enhances both the functionality and appearance of prototypes.
Sanding is often used to prepare prototypes for visual presentations, giving them a more polished look compared to raw, as-machined parts - without the high-gloss finish of polishing. It's especially useful for smoothing out layer lines on 3D-printed parts or preparing surfaces for painting.
Functional prototypes also benefit from sanding, particularly when smooth surfaces are essential for proper operation, such as sliding interfaces or sealing areas. Additionally, sanding creates the ideal surface texture for follow-up treatments like painting, powder coating, or anodising.
Sanding is a practical and efficient finishing method. Unlike specialised processes that require advanced tools, sanding can be done with basic equipment and minimal setup, making it accessible and cost-effective.
It also offers excellent control over surface quality. By choosing the right grit and technique, you can adjust the texture to meet specific requirements. This level of precision is particularly important when preparing parts for further treatments or achieving functional finishes.
Another advantage of sanding is its ability to maintain dimensional accuracy. With controlled material removal, critical dimensions stay within tolerance, making it a reliable option for precision prototypes. This makes sanding a key step in preparing parts for more advanced finishing processes.
Sanding plays a crucial role in various industries by improving surface quality and preparing prototypes for additional treatments.
In consumer electronics, sanded finishes are often applied to prototype housings and enclosures. This creates a smooth base for decorative finishes while maintaining the precise fits needed for assembly.
In the medical device sector, sanding is used on prototypes undergoing biocompatibility testing, as the controlled surface texture helps reduce contamination risks.
The automotive industry also relies on sanding for interior and exterior trim prototypes. Removing machining marks allows design teams to assess fit, finish, and overall aesthetics.
In Australia’s mining equipment industry, sanding is essential for prototype components where smooth operation is critical. It helps identify potential wear patterns during testing, ensuring the parts meet performance standards.
Polishing is the art of turning rough or machined surfaces into smooth, highly reflective finishes. By using progressively finer abrasives, this process not only enhances the look of a surface but also improves its functionality.
After sanding has prepared the surface, polishing takes it to the next level. The process starts with coarser abrasives and moves through finer compounds until a mirror-like finish is achieved. Mechanical polishing often uses rotating wheels or belts combined with polishing compounds, while hand polishing is ideal for intricate designs or delicate prototypes that require extra care.
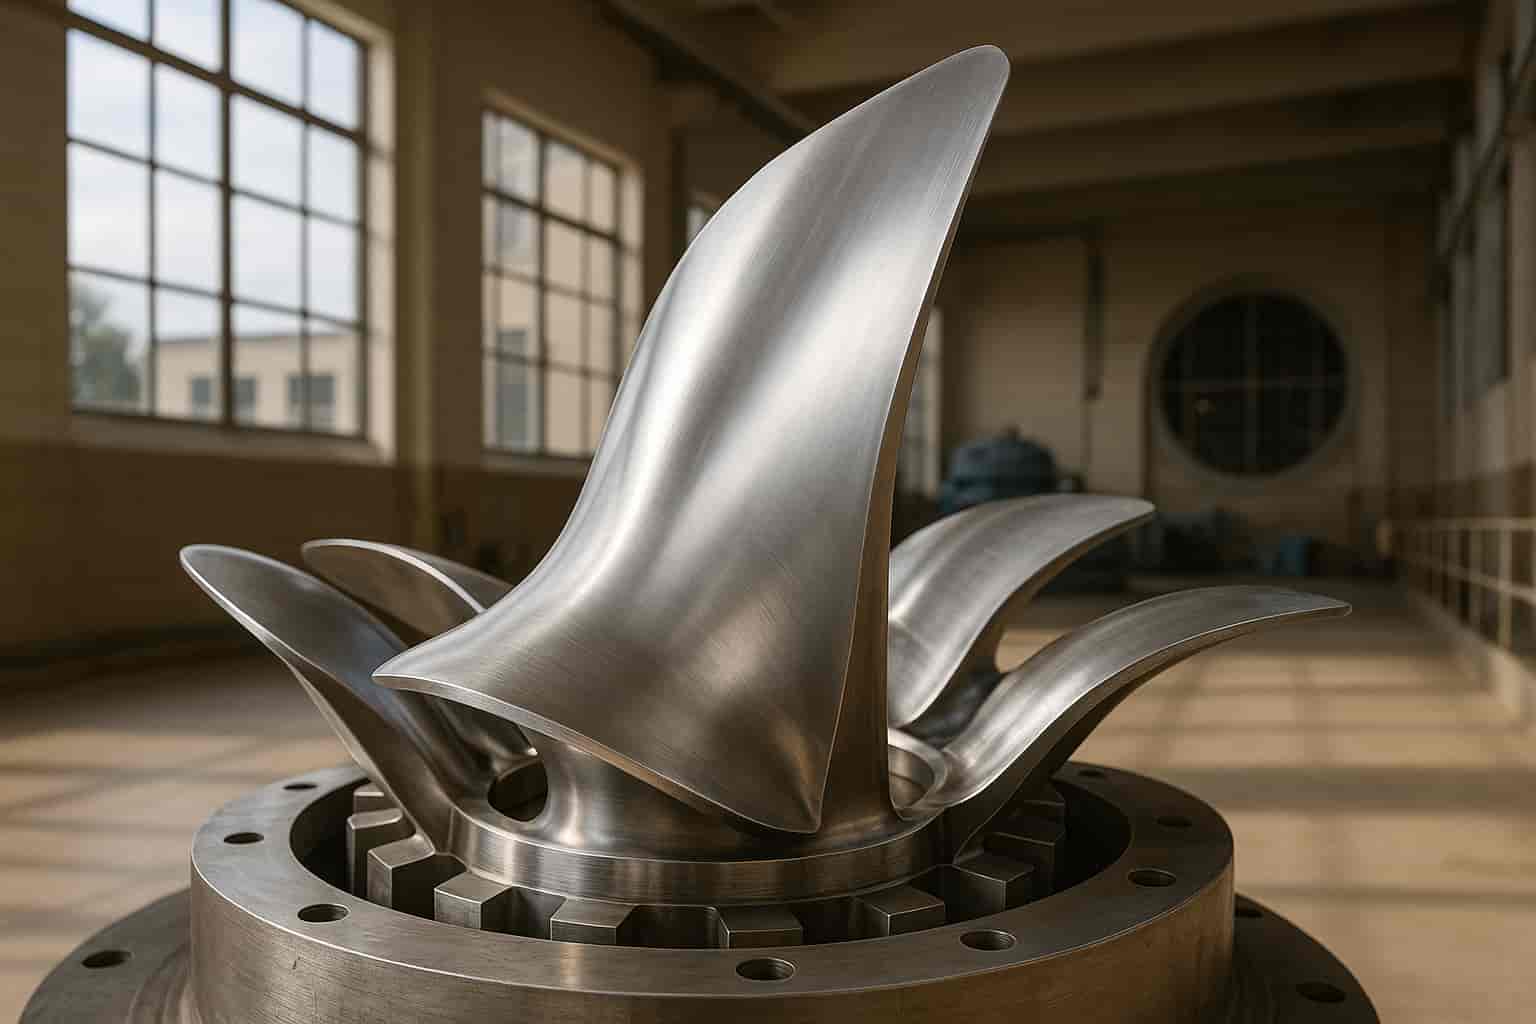
Different materials react differently to polishing. Aluminium, for instance, can quickly achieve a bright, reflective finish. Stainless steel, on the other hand, often needs stronger compounds and more time to reach the same level of shine. Even plastics like acrylic can develop a smooth, high-quality finish, but temperature control is crucial to prevent melting or crazing.
Since polishing removes only a small amount of material, it’s a great choice for precision prototypes where maintaining exact dimensions is essential. Just like as-machined finishes, it ensures dimensional accuracy while adding a refined surface.
Polishing is a go-to technique when both aesthetics and surface quality are top priorities. For luxury consumer products, polished prototypes help mimic the final product’s appearance. In optical prototypes, a smooth surface reduces light scattering, which is especially important for components like lens housings, reflectors, and display parts.
In the medical field, polished surfaces are common for prototypes of surgical instruments and devices. The smooth finish not only meets strict hygiene standards but also makes sterilisation easier and reduces bacterial adhesion. Similarly, decorative hardware prototypes - like door handles and fixtures - benefit from polishing, as it highlights the design and material quality.
These examples show why polishing is often chosen for projects where both appearance and functionality matter.
Polishing achieves an exceptional surface quality. The smooth, mirror-like finish reduces irregularities that might trap contaminants, making the surface easier to clean and more resistant to corrosion. This smoother texture also lowers friction, which is crucial for moving parts, sealing surfaces, and other components that require smooth operation.
Additionally, polished surfaces provide an excellent foundation for electroplating and coatings, ensuring an even and consistent base for decorative or protective layers.
Polishing plays a significant role across various industries. In the automotive sector, polished prototypes are used for interior and exterior trim parts, showcasing the final design. Medical device manufacturers depend on polished surfaces for prototypes of surgical tools, implants, and diagnostic equipment, where hygiene and smoothness are critical.
In Australia, the mining equipment sector uses polishing for precision parts and hydraulic components, helping to identify wear patterns and ensure performance under tough conditions. Aerospace applications include polished finishes for interior cabin elements, control surfaces, and other precision parts where both aesthetics and functionality are key. Consumer electronics prototypes also frequently feature polished housings and decorative parts, giving stakeholders a clear sense of the design’s visual and functional quality.
After sanding and polishing, bead blasting offers a unique way to create a matte, textured surface. By propelling small glass beads at high pressure onto a material, this method achieves a non-reflective, textured finish that’s both functional and visually appealing.
Bead blasting uses compressed air to fire tiny glass beads onto a surface. When the beads hit, they create a textured finish by bouncing off the material without removing much of the base layer. The texture can be customised by adjusting variables like air pressure, bead size, and the angle of application.
This process is gentle, making it ideal for delicate features that might otherwise be damaged. It’s compatible with a variety of materials, from robust metals like stainless steel and aluminium to softer metals like brass and copper, and even some plastics.
Bead blasting is great for smoothing out machining marks and creating a consistent texture. This not only makes surfaces look uniform but also helps coatings stick better, which is particularly useful in automotive prototypes.
In medical device prototyping, the even finish makes surfaces easier to clean and sterilise. For electronic components, it reduces glare and gives a sleek, professional look. Additionally, bead blasting is often used in restoration projects to gently remove oxidation or old finishes without harming the underlying material.
Bead blasting is a go-to process in several industries. In automotive prototyping, it’s used to prep parts for coatings. Aerospace applications benefit from its ability to maintain precise dimensions while readying components for specialised treatments. Medical devices also gain from its hygienic, easy-to-clean finishes, ensuring they meet strict standards.
This controlled, uniform finish not only enhances the look of prototypes but also sets the stage for further coatings or treatments, boosting performance across various applications.
Painting brings prototypes to life by adding colour and providing protective layers. Whether applied with a spray gun or by hand, it’s a versatile technique that can achieve specific colours, textures, and coatings that other finishing methods simply can’t replicate.
Spray painting uses compressed air to break paint into fine droplets, ensuring smooth and even coverage, even on complex shapes. It requires careful preparation - cleaning the surface and sometimes applying a primer - followed by several thin coats for the best results.
Hand painting, on the other hand, involves using brushes or rollers for precise application. This method is ideal for detailed work, touch-ups, or when a specific artistic effect is needed.
Both methods accommodate a variety of paints, from standard acrylics to specialised coatings. As long as the surface is properly cleaned and primed (if necessary), painting delivers both aesthetic and functional results, making it a go-to option for prototypes that need to look and perform like the final product.
In the fast-paced world of Australian rapid prototyping, where speed and quality are key, painting plays a crucial role. It’s particularly useful when prototypes need to match final product colours for client presentations or market testing. For example, automotive prototypes often require precise brand colours or metallic finishes that only painting can achieve.
Protective uses include adding corrosion resistance for outdoor testing, chemical resistance for lab equipment, or UV protection for components exposed to sunlight. In the medical field, antimicrobial paints are often applied to prototypes to ensure sterile conditions.
Functional coatings go beyond appearance. Conductive paints can provide electromagnetic shielding, while heat-resistant coatings protect parts in high-temperature settings. Textured finishes can also enhance grip on handles or control surfaces.
Painting offers an extensive colour range, from standard RAL shades to custom-matched colours that align with brand specifications. This makes it an excellent choice when prototypes need to accurately represent the final product.
It’s also a cost-effective option, especially for large surface areas or high-volume batches. The equipment costs are relatively low compared to other finishing techniques, and the materials are easy to source.
Another advantage is its versatility across materials. Paint adheres well to metals, plastics, composites, and even some ceramics, thanks to specialised primers that ensure proper bonding. Plus, the process is efficient - multi-coat systems can dry within 24–48 hours, keeping projects on schedule.
Automotive prototyping heavily relies on painting for precise colour matching, brand representation, and functional coatings. Painted prototype panels, trims, and interior components are essential for validating design accuracy.
Consumer electronics benefit from painted finishes to achieve brand colours, premium looks, and functional features like electromagnetic interference shielding through conductive paints.
Medical devices often use antimicrobial and easy-to-clean paint formulations, ensuring hygiene standards while maintaining a professional appearance.
Aerospace prototypes require specialised paint systems for corrosion protection, thermal management, and weight reduction, especially for components tested in extreme conditions.
Anodising is a process that enhances aluminium surfaces through an electrochemical treatment, creating a tough, corrosion-resistant oxide layer. Unlike painting, which applies a separate coating, anodising alters the surface itself, making it stronger and more durable.
The anodising process begins by immersing aluminium parts in an acid electrolyte solution. An electric current is then passed through, causing oxygen ions to react with the aluminium surface, forming a porous yet durable oxide layer.
The final step is sealing, where the porous oxide layer is treated with hot water or chemicals to lock in dyes and improve corrosion resistance. Depending on the thickness required, the process can take anywhere from 1 to 3 hours. This precise method ensures a durable and high-quality finish.
Anodising offers a range of applications thanks to its unique properties. It is particularly useful for components that require precise dimensions, as the process does not add bulk to the material.
Anodising delivers several advantages that make it a preferred surface treatment for aluminium.
Anodising plays a critical role in several industries due to its functional and aesthetic qualities:
Powder coating is a dry finishing process known for producing durable and versatile surface finishes, making it a go-to option for prototyping. Unlike liquid paints, this process uses electrostatically charged powder, which is then heat-cured to create a tough, uniform coating. Its popularity has grown due to its strength and eco-friendly nature.
The powder coating process consists of three main steps:
This method doesn’t just offer durability - it also allows for precise aesthetic finishes, making it ideal for prototypes requiring both functionality and visual appeal.
Powder coating works exceptionally well for CNC-machined, sheet metal, and die-cast parts. It provides a wide range of colours and textures while offering resistance to chipping, scratches, and corrosion. In prototyping, this colour flexibility is particularly useful for identifying components during testing. Prototypes exposed to frequent handling or harsh environments benefit from the coating’s wear and environmental resistance.
Recent advancements, such as UV-curable powder coatings, have expanded its use. These coatings cure at lower temperatures or under UV light, making them suitable for heat-sensitive materials like certain injection-moulded plastics. This development opens up new possibilities for applying powder coating in prototyping.
Powder coating strikes a balance between rugged performance and visual precision, meeting the high standards often required in Australian prototypes.
Powder coating offers several advantages beyond its durability and application efficiency:
These features make powder coating a practical and sustainable choice for prototyping, with utilisation rates often exceeding 95%.
Powder coating is widely used across industries that demand reliable finishes for prototypes:
Emerging trends, such as combining 3D printing with powder coating, allow for durable, customised finishes on 3D-printed prototypes that closely mimic final production quality.
Mastars integrates powder coating into its rapid prototyping services, ensuring every component meets the durability and performance expectations of local industries.
When choosing a surface finish for your prototype, it’s important to weigh factors like cost, material compatibility, and intended use. Below is a table comparing popular surface finishes, highlighting their benefits, suitable materials, and typical applications.
| Surface Finish | Key Benefits | Suitable Materials | Typical Applications |
|---|---|---|---|
| As-machined/Natural | Affordable, quick, and highly accurate in dimensions. | Common metals and plastics (as mentioned earlier) | Functional testing, internal components, proof-of-concept models |
| Sanding | Smooths out rough surfaces, removes layer lines, and improves appearance. | PLA, ABS, Nylon, SLA resins, PolyJet materials, DMLS metals | Consumer products, handheld devices, ergonomic testing |
| Polishing | Delivers a premium, mirror-like finish. | Metals (e.g. aluminium, stainless steel), hard plastics, acrylic | Optical components, luxury goods, medical devices |
| Bead Blasting | Produces a uniform matte texture, masking machining marks. | Most metals and rigid plastics | Automotive parts, aerospace components, electronic housings |
| Painting | Offers a broad colour palette and branding options. | Almost all materials (with proper primer) | Marketing models, colour matching, aesthetic evaluation |
| Anodising | Provides excellent corrosion resistance and electrical insulation. | Aluminium and its alloys | Electronic enclosures, outdoor equipment, architectural models |
| Powder Coating | Ensures durability and resistance to environmental factors. | CNC-machined parts, sheet metal, die-cast components, some 3D printed plastics | Automotive prototypes, medical devices, aerospace components |
This table is a handy guide to help you align your surface finish choice with your prototype’s design and functional needs.
Each finish has its strengths and material compatibilities. For instance, an as-machined finish works well with widely used metals and plastics, while sanding is ideal for smoothing 3D printed parts. However, basic finishes may expose tool marks or layer lines, particularly on 3D printed components, which could impact the final quality.
Natural finishes are perfect for quick iterations since they require no additional processing. On the other hand, finishes like anodising and powder coating take longer due to curing processes but offer enhanced durability and protection.
Mastars simplifies the process by offering an integrated approach that allows you to switch between finishing options effortlessly. This ensures you can test prototypes without delays or the need to coordinate with multiple suppliers.
Choosing the right surface finish is a key step in prototyping for Australian manufacturers. The seven finishes we’ve explored - from the simplicity of as-machined surfaces to the resilience of powder coating - each play a distinct role in transforming your product concept into reality. Your choice impacts not just the look of the prototype, but also its performance and readiness for the market.
Australian OEMs often encounter hurdles when juggling multiple suppliers for different finishing processes. This can lead to longer lead times, inconsistent quality, and higher expenses. By consolidating these processes under one roof, you can avoid these common pitfalls, saving time and ensuring a more reliable outcome.
Mastars simplifies this process by offering integrated prototyping services that include all seven surface finishing options. Their approach allows for seamless transitions between finishes, enabling quicker progression from design to a finished prototype. This is especially beneficial for industries like automotive, medical devices, and household appliances, where efficiency and precision are critical.
Knowing your finishing options helps you make smarter decisions during the design phase. The right surface finish can transform a working prototype into a polished, market-ready product. Whether you’re after the precision of polishing for optical components or the durability of powder coating for heavy-duty applications, understanding these choices ensures your project stays aligned with your goals and budget.
Choosing the right surface finish for your prototype depends on its material, functionality, and intended purpose. For prototypes with a functional role, it’s wise to select finishes that enhance performance. For example, smoother surfaces can benefit moving parts, while specialised coatings can increase durability. If your prototype is more about appearance, polished, painted, or textured finishes can help achieve the perfect visual appeal.
When deciding, consider a few key factors: the material compatibility of the prototype, the required surface roughness (Ra value), and the environment where it will be used. Finishing techniques such as CNC machining, bead blasting, polishing, or coating can be customised to balance both the visual and functional needs of your prototype. This ensures it not only performs as required but also looks polished and professional.
Anodising forms a durable, chemically bonded oxide layer on a prototype's surface, providing strong resistance to wear and corrosion. This makes it a great option for prototypes that need to endure tough conditions or prolonged use.
Powder coating, by contrast, delivers a visually appealing, UV-resistant finish. While it offers decent chemical protection, it’s less effective against scratches and mechanical damage. It’s an excellent choice for prototypes where appearance and moderate durability are the focus.
To put it simply, anodising is best for maximum strength and resilience, while powder coating excels in creating an attractive look with satisfactory protection.
The type of surface finish you choose can greatly influence both the timeline and budget of your prototyping project. For instance, finishes like polished or painted surfaces often involve extra steps, such as advanced machining or additional post-processing. These added processes can extend production time and increase costs. On the flip side, simpler finishes - like as-machined or bead-blasted options - are quicker and more economical, though they might not meet certain aesthetic or functional demands.
When deciding on a surface finish, it’s crucial to weigh your project’s quality requirements against its time and budget limitations. Factors such as the prototype's intended use, the industry it’s designed for, and the urgency of delivery will play a key role in determining the best option.