




CNC post-processing errors can disrupt production, waste materials, and lead to costly delays. Here's what you need to know to prevent them:
Future Trends: AI and IoT are making error detection smarter, with predictive maintenance and remote monitoring becoming more accessible to manufacturers. Staying ahead means embracing these advancements while maintaining rigorous quality control.

Spotting potential error sources is a key step in creating a reliable detection and quality control system. In CNC post-processing, errors can come from various areas, each with its own challenges and impact on production. Let’s break down the most common culprits.
Mistakes in programming are a leading cause of post-processing issues. For example, choosing the wrong tool - like using a steel tool instead of one designed for aluminium - can result in poor surface finishes and dimensional inaccuracies.
Feed rate miscalculations are another frequent problem. If the feed rate is too high, tools may break or heat can warp the material. On the other hand, feed rates that are too slow waste time and may even harden the material, making further machining difficult.
Issues with toolpath generation often arise from misconfigured CAM software settings. Overly aggressive stepover values can leave visible tool marks, while overly cautious settings unnecessarily increase machining time. Rapid traverses, especially on multi-axis machines, can lead to collisions if not properly managed.
Errors can also occur when converting CAM output into machine-readable G-code. File format incompatibilities are a common issue, potentially corrupting toolpaths or omitting key parameters, particularly when working with international CAM systems.
In Australia’s metric-driven manufacturing industry, unit conversion errors pose significant risks. For instance, failing to correctly convert between metric and imperial units can lead to disastrous results - a 25.4mm dimension could accidentally become 254mm, rendering the part unusable.
Coordinate system mismatches are another headache. If the CAM software’s reference frame doesn’t align with the machine’s coordinate system, it can cause parts to be machined in the wrong position, especially during multi-setup operations.
The physical condition of the machine itself plays a major role in post-processing accuracy. Linear encoder drift is a subtle issue that gradually reduces precision, often only becoming apparent during inspections.
Spindle runout affects both accuracy and surface finish, and often requires hands-on maintenance to resolve.
Thermal expansion is particularly relevant in Australia, where temperature swings throughout the day can be significant. As machine components expand and contract, even tiny changes can impact positioning accuracy - especially critical for precision work with micrometre-level tolerances.
Backlash compensation errors occur when the post-processor doesn’t account for the mechanical play in the machine’s drive systems. This results in inaccuracies, particularly during direction changes in cutting operations.
External conditions and setup procedures also play a big role in machining outcomes. Workholding inconsistencies can shift part positioning, creating problems that programming alone can’t fix.
Coolant delivery issues can mimic programming errors. Too much coolant may deflect thin-walled parts, while too little can cause overheating or tool damage.
Chip evacuation failures are another common problem. If chips aren’t properly cleared, they can scratch finished surfaces or even break tools. This often looks like a toolpath or feed rate issue but stems from poor chip management.
Finally, environmental vibrations - from nearby equipment or building systems - can disrupt machining accuracy. These vibrations are especially problematic for precision operations, leading to inconsistent results that may be mistakenly attributed to post-processing errors.
Understanding these error sources lays the foundation for using simulation and automation to detect and address issues more effectively.
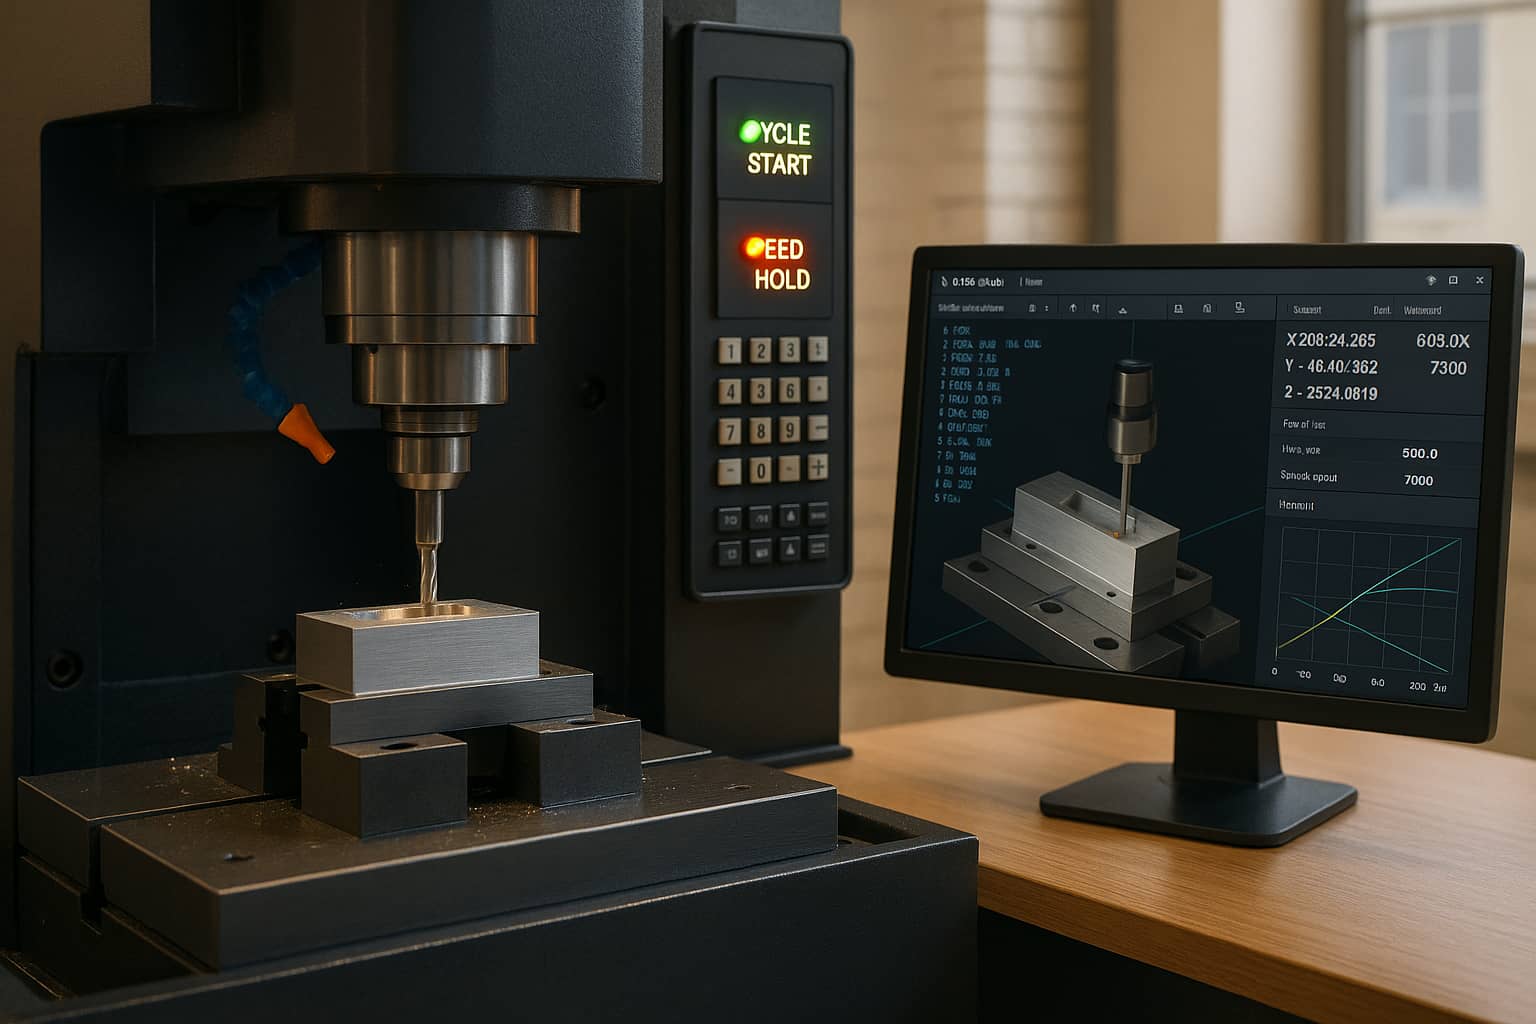
Simulation tools are a powerful way to uncover post-processing issues before they disrupt production. By creating a virtual replica of your machining setup, these tools help identify potential problems early, saving both time and materials.
Start by importing your CAM-generated G-code into simulation software to check the toolpath logic. Make sure the tool definitions, geometry, cutting parameters, and work coordinate systems align with the actual machining setup.
Pay close attention to rapid movements, ensuring they avoid clamps and fixtures. Confirm that approach and retract moves provide enough clearance and that feed rates are applied consistently throughout.
Look out for inconsistencies, such as abrupt changes in feed rates between operations. For instance, a sudden shift in speed between drilling and finishing passes might indicate programming errors that need fine-tuning. Lastly, verify that each operation references the correct work offset, as incorrect offsets can lead to misaligned toolpaths.
Use virtual simulations to visualise material removal, identify unmachined areas, and detect surface finish concerns before actual cutting begins.
Simulations can also flag collisions, excessive tool deflection, and unnecessary non-cutting cycles, helping to fine-tune the process. Analysing cycle times can reveal opportunities to reduce air cutting and optimise tool changes, improving overall efficiency.
Some advanced simulation tools even predict tool wear, estimating tool life based on cutting parameters and material properties. This allows for better planning of tool changes, reducing downtime and ensuring smoother operations.
Simulation reports provide valuable insights to refine machining processes. Warning indicators often highlight issues like excessive cutting forces or speeds beyond the machine's capabilities.
Review feed rate discrepancies against machine limits and analyse spindle utilisation to confirm performance. Tool change efficiency data can also point to areas where tool selection and sequencing could be improved, potentially reducing cycle times and boosting productivity.
Ensure all dimensions comply with Australian metric standards. Double-check that the simulation predicts the required surface finish and meets GD&T specifications.
Real-time verification systems are a game-changer for Australian manufacturing, keeping a constant eye on machining operations to catch errors as they happen. This proactive approach not only prevents costly mistakes but also complements earlier simulation tools by ensuring quality during actual machining.
Modern CNC systems use advanced technologies like encoder feedback and laser interferometry to keep machine positions accurate down to micrometre levels.
Automated systems take care of critical processes like clamping, cooling, and tool verification, ensuring smooth operations.
Poka-yoke techniques are designed to eliminate common errors by building safeguards into the process.
Post-processors have evolved to become smarter and more adaptable, enhancing the entire CNC workflow.
At Mastars, these advanced verification methods are seamlessly integrated into the manufacturing process. This ensures consistent quality across projects, whether it’s creating automotive prototypes or crafting medical device components. By combining real-time monitoring with intelligent post-processing, manufacturers can maintain tight tolerances while reducing the need for manual inspections.
Managing errors in CNC post-processing involves a structured approach: documenting issues, making precise adjustments, and implementing measures to avoid future problems.
Detailed documentation is the cornerstone of effective error management. Maintaining structured error logs that include details like time, machine ID, part number, material, and operating conditions is crucial. Operator observations - such as unexpected sounds, vibrations, or CNC alerts - can offer valuable insights into the root causes of errors. Analysing historical data can also help uncover patterns and recurring issues.
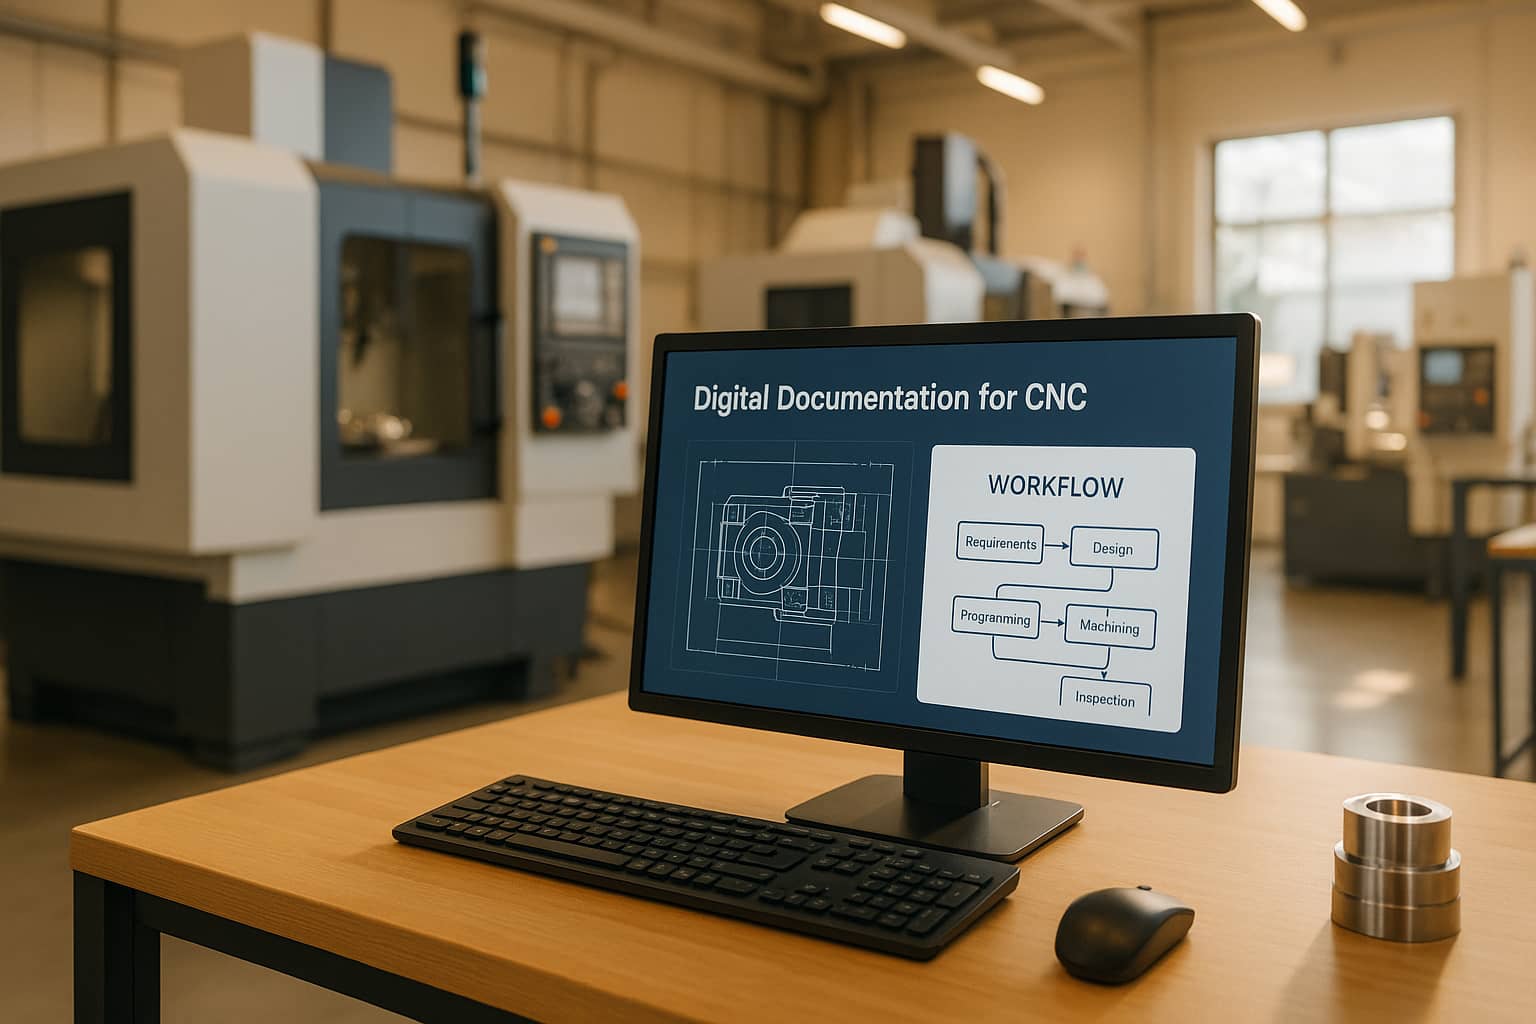
Digital documentation tools make this process even more efficient by providing searchable records and automated reporting. These records not only help in identifying problems but also guide necessary adjustments in CNC programming.
Once errors are logged and analysed, adjustments to CNC programs are the next step. Fine-tuning parameters like feed rates, spindle speeds, tool paths (e.g., approach angles and retract heights), rapid traverses, and coolant flow can address specific issues. Accounting for Australia’s variable conditions ensures that these changes are effective and sustainable.
These program adjustments also play a key role in shaping calibration schedules and refining quality control processes.
Routine calibration is essential for maintaining accuracy and ensuring CNC machines consistently produce parts within specified tolerances. As highlighted by Exact Machine Service, keeping records of calibration standards and results is critical for measurement traceability. This builds confidence in the precision and reliability of the equipment.
Calibration schedules should be based on factors like machine usage, operating conditions, and past calibration records. Regular checks - such as spindle performance evaluations and tool-holding inspections - help maintain dimensional accuracy. Documenting these calibration activities reinforces traceability and strengthens quality assurance.
Mastars employs a multi-layered quality control system that combines advanced automation with meticulous documentation. This process spans from the initial setup to the final inspection, ensuring consistency across operators and shifts.
Spotting errors in CNC post-processing calls for a structured approach that leverages advanced simulation tools, automated checks, and comprehensive error logs. By consistently applying these techniques, manufacturers can achieve precise and reliable results. These methods build on the simulation and automation strategies discussed earlier.
Given the varying environmental conditions across Australia, manufacturers must also maintain calibration schedules that consider temperature shifts and humidity, both of which can impact machine precision.
Looking ahead, advancements in technology are set to enhance error detection even further. Artificial intelligence (AI) and machine learning are being integrated into CNC systems, enabling them to predict potential failures before they occur. By analysing vast amounts of operational data, these technologies can uncover subtle patterns that human operators might overlook.
IoT connectivity is revolutionising equipment monitoring. It allows for remote diagnostics and predictive maintenance, ensuring consistent quality and reducing downtime. This connectivity is especially valuable for maintaining high standards in competitive markets.
New sensor technologies are becoming more accessible and affordable, opening the door for smaller manufacturers to adopt real-time monitoring. This shift levels the playing field, making advanced error detection tools available to a broader range of operations.
For Australian manufacturers aiming to stay ahead in the global market, working with experienced partners like Mastars can be a game-changer. Their expertise in CNC machining, combined with rigorous quality control and advanced automation, ensures the precision and reliability needed in modern industries.
Simulation tools are essential for spotting and addressing errors during CNC post-processing. They create a virtual model of the machining process, enabling operators to identify potential problems like tool path errors, collisions, and programming mistakes before production starts.
By mimicking the behaviour of NC programs and machinery, these tools help cut down on material waste, avoid equipment damage, and boost production quality. This forward-thinking method streamlines workflows and reduces expensive downtime, playing a key role in ensuring accurate and efficient manufacturing.
Real-time verification systems bring a host of advantages to CNC machining. One major perk is their ability to spot errors instantly, cutting down on the chances of expensive rework or material waste. By addressing problems as they arise, these systems help maintain smoother workflows and speed up production.
Another benefit is their round-the-clock monitoring of crucial elements like tool wear and process variations. This not only boosts precision but also ensures greater efficiency and minimises downtime, delivering consistent, top-notch results for every project.
The combination of AI (Artificial Intelligence) and IoT (Internet of Things) is transforming error detection in CNC post-processing by creating smarter, faster, and more automated workflows. AI algorithms excel at processing massive amounts of machining data, spotting patterns and anomalies that might indicate potential errors before they even happen. Meanwhile, IoT devices like sensors provide real-time monitoring, tracking essential metrics such as temperature, vibration, and tool wear.
Here’s how this duo works together:
By embracing AI and IoT, manufacturers can streamline operations, cut down on waste, and maintain consistent quality throughout CNC post-processing.