


Vacuum casting is a fast and cost-effective way to produce high-quality prototypes, especially for small to medium production runs (5–50 units). Using silicone moulds and polyurethane resins, this method replicates intricate designs with precision, making it ideal for industries like automotive and medical manufacturing. It’s faster and cheaper than injection moulding, with turnaround times as short as 2–3 weeks and costs ranging from $2,000 to $8,000 AUD for tooling and prototypes.
Vacuum casting offers an efficient solution for prototyping when large-scale production isn’t required. Proper design, material selection, and process control are essential for achieving accurate results.
Getting vacuum casting right starts with thoughtful design that considers the unique properties of silicone moulds and polyurethane resins. Addressing these factors early on can save time, cut costs, and help ensure your prototypes meet their intended purpose. Below are key guidelines for design, material choices, and managing shrinkage to optimise your vacuum cast prototypes.
When designing for vacuum casting, wall thickness matters. Walls that are too thin or too thick can lead to problems with mould filling or curing. Aim for balanced thickness to ensure proper results.
Sharp corners are a no-go. They create stress points that can lead to cracks in both the mould and the final part. Instead, use fillets to smooth out corners, reducing stress and improving durability.
For ribs, keep the thickness consistent and transitions smooth. Avoid making ribs too tall, and consider cored-out designs to maintain uniform wall thickness and make mould filling easier.
Add slight draft angles to vertical surfaces. This small adjustment makes part removal simpler and extends the life of the mould.
Flexible silicone moulds are great for handling undercuts and complex shapes, but extreme undercuts can cause issues during part removal. If significant undercuts are unavoidable, plan for multi-part moulds to preserve accuracy, though this may increase time and cost.
Choosing the right resin is key to balancing performance and cost in rapid prototyping. Polyurethane resins are versatile, offering a range of properties to mimic production materials. They come in various hardness levels, from soft and rubbery to rigid and plastic-like, so you can pick what best suits your prototype's needs.
For durable housing components, ABS-like polyurethanes are a great option. They offer excellent impact resistance and mechanical strength, making them ideal for functional testing.
Medical device prototypes often require biocompatible polyurethanes that meet standards like USP Class VI. These materials are designed to withstand sterilisation and repeated cleaning, so it’s wise to factor in the intended sterilisation method early in the design process.
If fire safety is a concern, flame-retardant polyurethane resins are available. While these may differ slightly in mechanical properties compared to standard grades, they provide essential safety features without sacrificing performance.
For prototypes where appearance or light transmission is critical, transparent or translucent polyurethane can be a good choice. These materials allow high light transmission and can be used for functional testing. However, keep in mind that prolonged UV exposure may lead to yellowing.
Cure temperature also plays an important role, especially in Australia, where ambient temperatures can vary. While most polyurethanes cure well under normal conditions, some fast-curing formulations are designed to handle higher temperatures without losing their properties.
Shrinkage during polyurethane curing can significantly affect final part dimensions. The extent of shrinkage depends on the resin formulation and the geometry of the part, with rigid resins generally shrinking less than flexible ones.
To ensure critical dimensions, adjust your CAD models to account for shrinkage based on material testing.
The geometry of the part also plays a role. Thicker sections tend to shrink more than thinner ones, which can lead to warping or distortions. Keeping wall thickness uniform and using coring techniques in thicker areas can help minimise these issues.
Temperature control is another important factor. Proper cure temperatures and post-curing can reduce shrinkage and improve dimensional accuracy. This is especially important for parts with tight tolerances or those exposed to high service temperatures.
Finally, it’s helpful to track and analyse shrinkage for each material and design. Compare actual dimensions with predicted ones and document processing conditions for future reference. Allowing parts to stabilise at room temperature before taking final measurements can also improve dimensional accuracy.
The vacuum casting process unfolds in three key stages, each building on the last. Getting the details right at each step lays the groundwork for a successful final product.
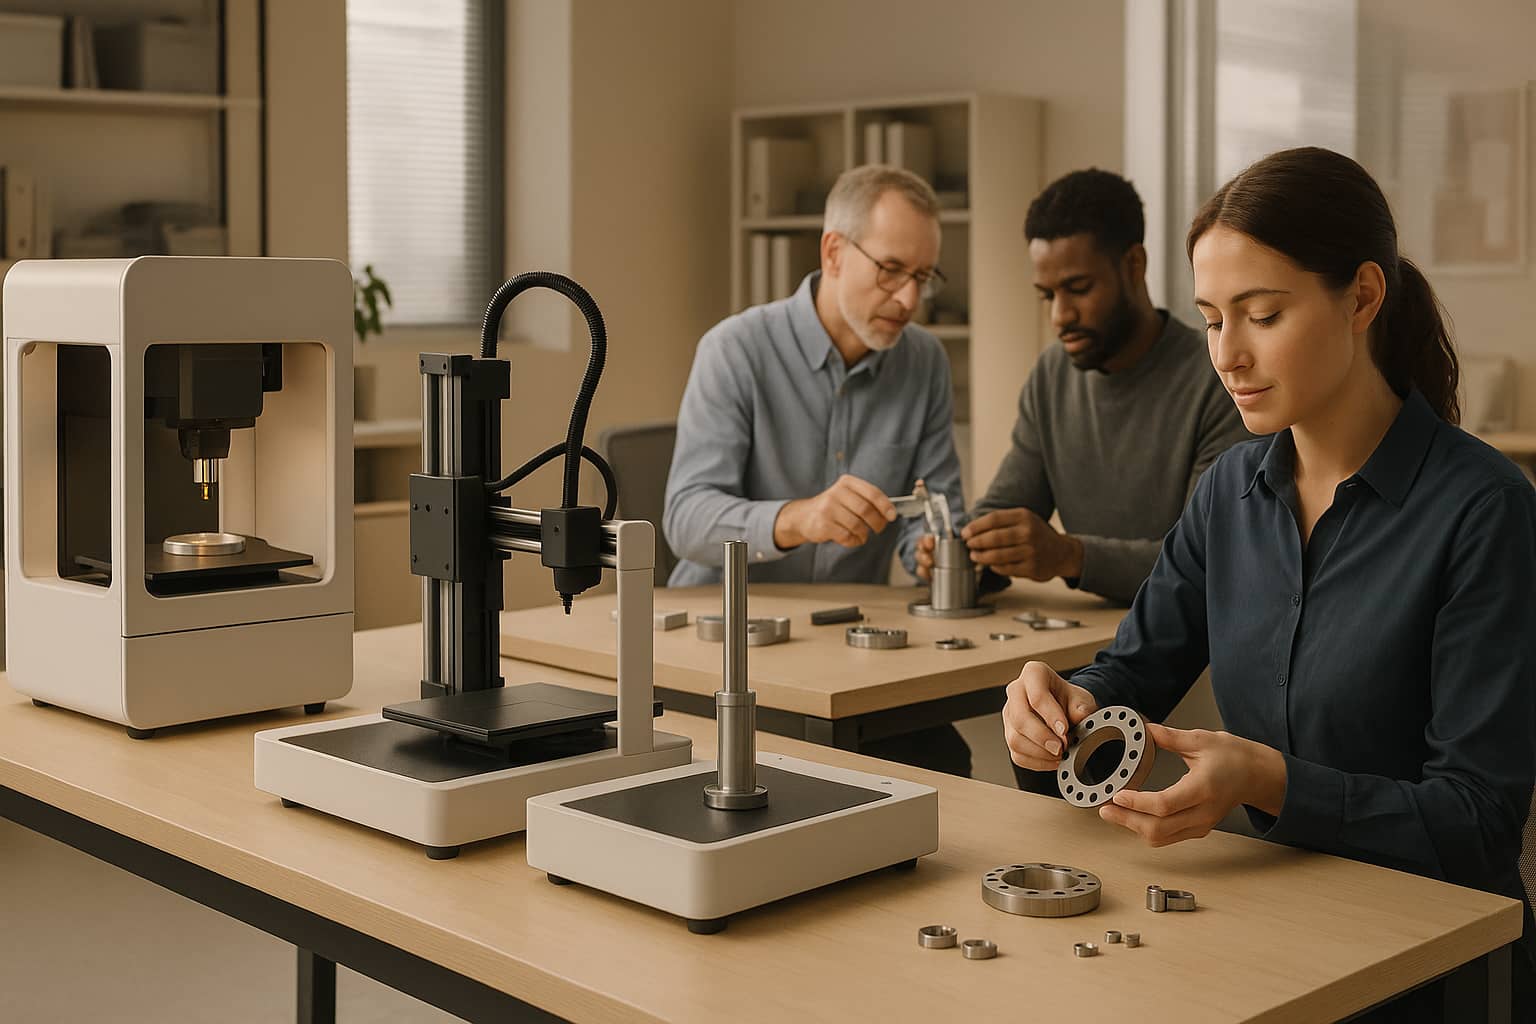
The master model is the cornerstone of your vacuum casting project. Its quality directly impacts every subsequent stage. Typically, CNC machining and 3D printing are the go-to methods for creating these models, each with its own strengths:
When choosing a material, ensure it offers good thermal stability to maintain dimensional accuracy, even when exposed to temperature changes. With a well-prepared master model in hand, you're ready to move on to crafting the silicone mould.
The silicone mould is where precision truly matters. The quality of the master model will dictate the fidelity of the mould, so attention to detail is critical.
With a bubble-free, fully cured mould ready to go, it’s time to move on to resin casting. Following the resin system's instructions is crucial for success.
Each stage of the vacuum casting process requires care and precision, but the results are well worth the effort.
Vacuum casting offers a mix of advantages and limitations, making it essential to weigh its pros and cons to determine if it fits your project. Like any manufacturing method, it has trade-offs that influence cost, timelines, and the quality of the final product.
One of the standout benefits of vacuum casting is its speed. You can have prototypes ready in just a few days, which is a game-changer when you're racing against tight deadlines or refining multiple design iterations.
For small to medium production runs, vacuum casting is also a cost-effective option. Silicone moulds are far cheaper than injection mould tooling, making this method ideal for quantities ranging from 10 to 100 parts.
That said, vacuum casting does come with its share of limitations. For one, silicone moulds have a short lifespan, typically lasting only 20 to 25 casting cycles before their quality starts to degrade. This makes the process less suitable for larger production volumes, as frequent mould replacements can drive up costs.
Another major advantage is the versatility of materials. With a wide range of polyurethane resins available, you can replicate various properties - from flexible rubbers to rigid plastics and even flame-retardant materials - closely mimicking the characteristics of your final product. Here's a quick breakdown of its key benefits and drawbacks:
| Advantages | Limitations |
|---|---|
| Quick turnaround - Parts ready in 2-5 days after mould creation | Limited mould life - Silicone moulds last only 20-25 cycles |
| Cost-effective - Lower tooling costs for small batches (10-100 parts) | Batch size constraints - Not economical for large production runs |
| Material variety - Wide selection of polyurethane resins available | Size limitations - Mould handling restricts part dimensions |
| Complex geometries - Captures intricate details and undercuts | Surface finish - Relies on the quality of the master model |
| Low minimum order - Ideal for single prototypes or small quantities | Material properties - Some engineering plastics can’t be perfectly replicated |
| Design iteration - Easy to modify designs between runs | Dimensional accuracy - Slight variations due to material shrinkage and mould flexibility |
One factor that directly impacts the surface finish is the quality of the master model. For instance, a master created through CNC machining with a polished finish will yield smooth, professional-looking parts. On the other hand, a roughly finished 3D-printed master may require extra post-processing to meet aesthetic standards.
Vacuum casting’s ability to handle complex designs is another advantage. The flexibility of silicone moulds enables them to capture intricate details, textures, and even moderate undercuts - features that can be challenging for other prototyping methods. This makes it particularly useful for creating prototypes that closely resemble the final product in terms of aesthetics.
However, temperature stability is a factor to consider, especially in Australia's varied climate. Resin curing times and overall quality can be impacted by fluctuations in ambient temperature. To ensure consistent results, maintaining a controlled workshop environment is crucial, regardless of the season.
Vacuum casting shines when you need high-quality prototypes quickly and affordably. But for projects requiring large production volumes or extremely tight tolerances, it may not be the best fit.
Achieving excellent results in vacuum casting projects means paying close attention to each step of the process. The quality of your master model plays a critical role, as it sets the foundation for every stage that follows. Here's how to refine your master model and avoid common mistakes along the way.
The silicone mould captures even the smallest details, so precision at the master model stage is non-negotiable.
Using Stereolithography (SLA) 3D printing is a great way to achieve a smooth surface finish for casting. However, you'll need to follow up with sanding and polishing to remove any support marks. For projects requiring intricate details and high strength, Selective Laser Sintering (SLS) with nylon is a solid choice. While SLS produces a coarser finish, techniques like media blasting or vibratory tumbling can refine it. If your project demands greater durability and resistance to high temperatures, materials like Rigid 10K Resin are worth considering for your master patterns.
Don’t forget to revisit earlier CAD guidelines for specifics on wall thickness, rib design, and radii. These details are essential for maintaining the integrity of your master model.
Vacuum casting is an economical option when producing prototypes in quantities ranging from 5 to 50 units. It avoids the steep upfront costs associated with injection moulding while delivering a much better surface finish compared to many 3D printing methods.
Even small errors can derail an otherwise well-executed project. Be mindful of these common pitfalls:
For added confidence in your results, consider working with expert services. Mastars, for example, offers integrated prototyping solutions that combine vacuum casting with techniques like CNC machining and 3D printing. Their expertise ensures that every stage of your prototyping process is carried out to the highest standards.
Achieving success with vacuum casting hinges on precise design, thoughtful material selection, and meticulous process control.
A master model with a surface finish of ≤ Ra 0.4 µm, combined with maintaining a proper vacuum for complete mould filling, ensures every detail is captured flawlessly. Incorporating expert geometric considerations into your 3D-printed design helps avoid errors and enhances overall quality.
Vacuum casting provides impressive design flexibility, allowing for parts with both thin and thick wall sections, as well as complex geometries like internal cavities and undercuts. Accurate tolerances and detailed designs not only ensure dimensional stability but also simplify part removal.
Material selection is equally crucial for prototyping success. Platinum-cure RTV silicone moulds are ideal, offering excellent dimensional control with shrinkage under 0.2% and a Shore A hardness of 40–50. This combination ensures precise detail replication and smooth part release. Similarly, the choice of casting resin - whether polyurethane, elastomeric, or epoxy - should align with your specific needs for strength, flexibility, or temperature resistance.
Fine-tuning the process transforms a good design into an exceptional prototype. Pre-heating resin to approximately 40°C, degassing for 50–60 seconds, and maintaining a vacuum below 5 mbar ensures thorough cavity filling and minimises defects. With these steps, tolerances as tight as ±0.05 mm are achievable, and projects can be completed within 10–15 days.
As outlined earlier, every stage - from CAD design to resin curing - plays a critical role in meeting these demanding standards. This makes vacuum casting an excellent choice for design validation, functional testing, and low-volume production, especially when the high upfront costs of injection moulding are not feasible.
When design expertise, material selection, and process optimisation come together, the result is prototypes that rival injection-moulded parts in quality. With smooth finishes, precise details, and reduced costs and timelines, vacuum casting proves to be an invaluable tool for creating functional, high-fidelity prototypes during product development.
At Mastars, we leverage these principles and techniques to provide high-quality vacuum casting services, ensuring your prototypes transition seamlessly from concept to reality.
Vacuum casting is a practical and budget-friendly solution for small to medium production runs. Unlike injection moulding, it skips the need for costly metal moulds, making it an excellent choice for rapid prototyping and limited batch production. Plus, it offers the flexibility to tweak designs without racking up significant extra costs.
When compared to 3D printing, vacuum casting stands out for its ability to produce multiple parts quickly in a single batch, making it a better option for medium-volume production. That said, for extremely low quantities or intricate designs, 3D printing might still be the more economical route. Vacuum casting finds a sweet spot by delivering a mix of speed, precision, and cost-effectiveness for prototyping and low-volume manufacturing projects.
To produce top-notch vacuum cast prototypes, the master model must be crafted with great precision and attention to detail. Techniques like CNC machining or 3D printing are ideal for creating the master. Aim for tolerances of ±0.25 mm or 0.5% of the dimensions to ensure the final product is accurate and consistent.
Key design considerations include maintaining uniform wall thickness, avoiding undercuts, and achieving smooth surfaces. These elements make it easier to release the mould and improve the surface finish of the prototype. Additionally, applying effective surface finishing methods and using the right release agents can significantly boost the quality of the final product. By taking these measures, you can achieve prototypes that are both reliable and cost-efficient.
To keep material shrinkage in check and ensure dimensional accuracy in vacuum cast prototypes, it’s crucial to address shrinkage right from the design stage. One effective approach is to incorporate shrinkage allowances into the master model. Additionally, using draft angles or adding support structures can help improve mould flow and ensure smooth release.
Selecting materials with consistent shrinkage rates is another key step. For example, platinum-cure silicones, which typically shrink by 1–4%, are a reliable choice. Maintaining precise process temperatures is equally important - keeping the resin at about 30°C and the mould at roughly 60°C can significantly minimise deviations. Fine-tuning cooling rates and designing the mould with risers can also prevent shrinkage defects, enhancing accuracy.
By managing these variables carefully, you can produce high-quality prototypes that align with your design goals while staying on budget.